Virtual Machines enable you to run multiple operating systems on a single physical machine. It gives you full control of your server to customize hardware specifications, software configurations, etc.
To efficiently set up a virtual machine on which to deploy your apps, you must have enough credit in your account. Doprax makes it easy to add credit and manage your billings.
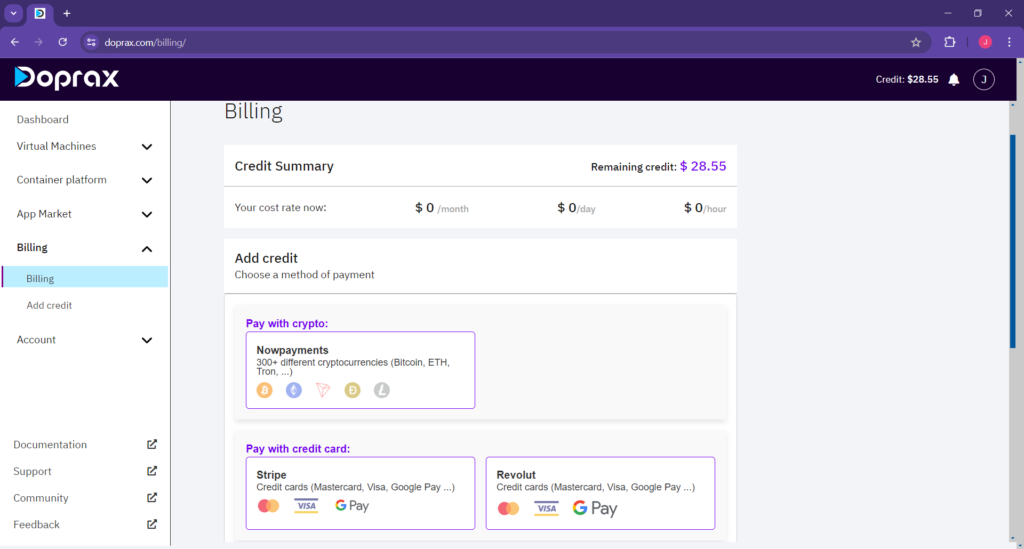
To get started, navigate to the billing page on your dashboard.
Add Credit
We’ve made this adding credit process seamless for users in different locations. When you scroll down to ‘Add credit’ section, you’ll see different payment options available.
There are the different payment methods available for use including crypto payments, credit cards, Zarinpal, WeChat Pay and Alipay. Visit the Add Credit page to learn more. Select the best credit option available to you in your locality. Click the option and follow the page prompts, e.g., Inputting the credit amount.
After adding credit to your account, you can view the details of your payment. Simply scroll down to your ‘Previous payments’ section in the billing page to see your payment details – date, amount, and currency.
Billing for Virtual Machine
Once your account has been credited and you have enough or more than enough credits, you can create virtual machines for your apps. Our billing system is transparent and fair since it’s based on actual virtual machine usage and factors like RAM, CPU, disk, etc.
Your virtual machine cost is calculated by seconds and the amount will be automatically deducted from your credit balance. For example, if you create a virtual machine and delete it after 1 day, you pay for just 1 day.
Here’s how the billing works:
- Flat Rate Charging: Virtual Machines are charged a set rate for predefined resources (e.g. kind, RAM, CPU, disk space, monthly traffic). The flat rate ensures that you pay a consistent amount, regardless of workload.
- Per-Second Billing: We charge on a per-second basis. You are only charged for the real time your Virtual Machine is running. If you delete a Virtual Machine, you will not be billed for it.
- Resource Usage Monitoring: Our system continuously monitors and analyzes your virtual machine’s resource usage, including CPU, memory, and network traffic. This data is used to calculate your charge accurately.
- Automatic Deductions: Your credit balance will be automatically deducted in real-time based on the resources used and the time your Virtual Machine was active.
- Low Credit Notifications: We send you notifications and emails when your credit balance is running low, allowing you to top up your account before it is depleted.
Get started by adding credit to your account here:
Add CreditCreate your Virtual Machine
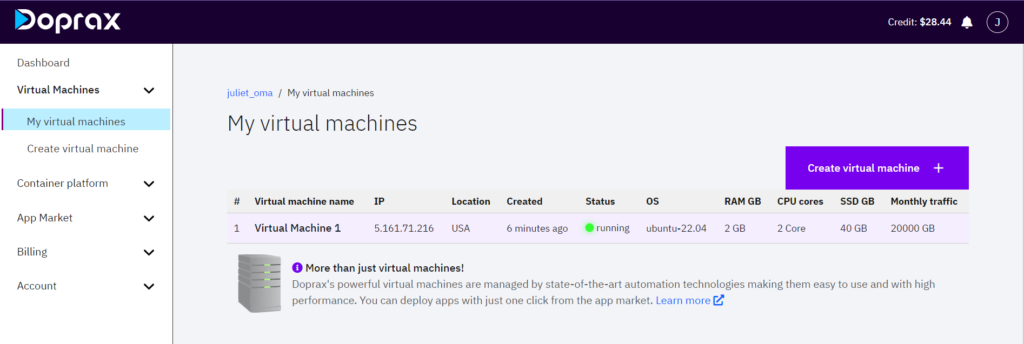
Navigate to your create virtual machine page to start your Virtual Machine creation process. Enter a name for your VM, select an Infrastructure, and choose a location. Next, choose an Operating System and a size for your VM depending on the disk space, CPU, RAM, etc. You’ll see the pricing summary of your Virtual Machine.
Click the “CREATE VIRTUAL MACHINE” button to create your Virtual Machine.
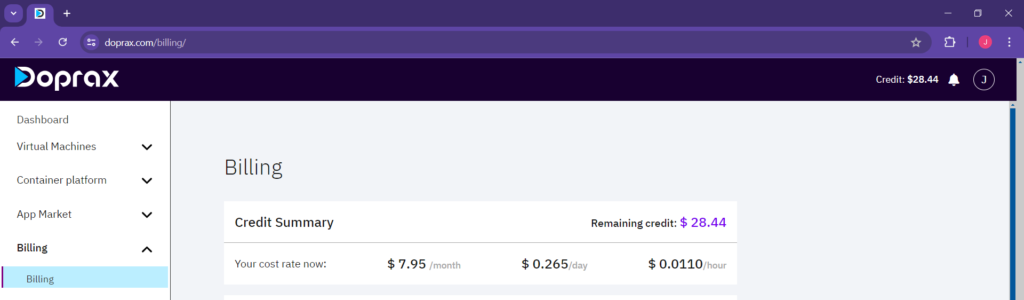
Once you’ve successfully created a virtual machine, your machine credit summary will appear on the billing page. This section provides a summary of your credit in use. You will see how much credit you have remaining. The summary will also show the monthly, daily, and hourly costs for the virtual machine or machines you have running.
Virtual Machine IP Change Cost
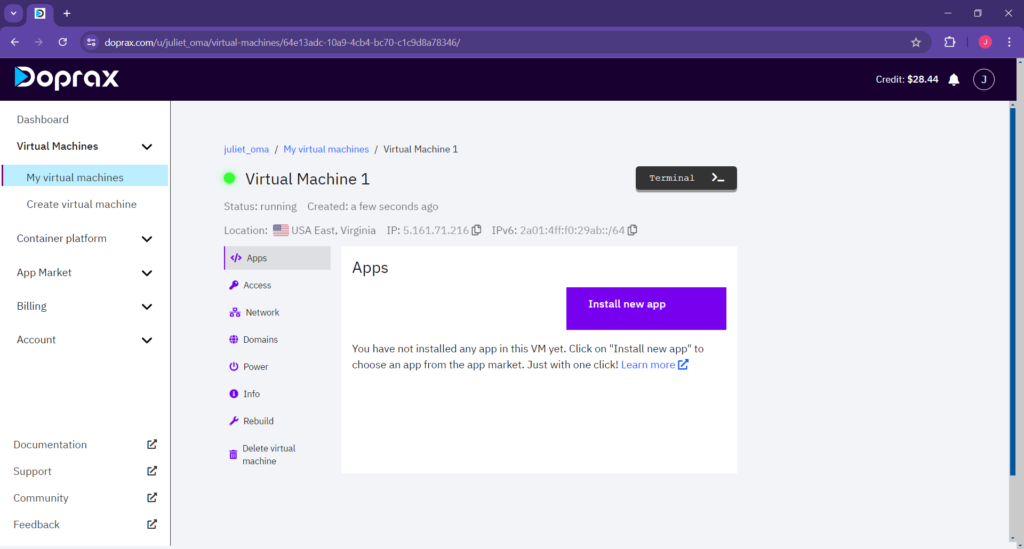
When you create a Virtual Machine, your VM will be assigned an IP address. You can use this IP to access some apps in the app market, e.g., the OpenVPN UI app. Go to your Virtual Machine page to see the IP of your running VM or VMs.
You can change this IP address but this only possible for the Hetzner infrastructure. To do so, select the VM for which you wish to change the IP. Click on the Network option to see the list of current IP addresses (IPv4 and IPv6) assigned to your VM.
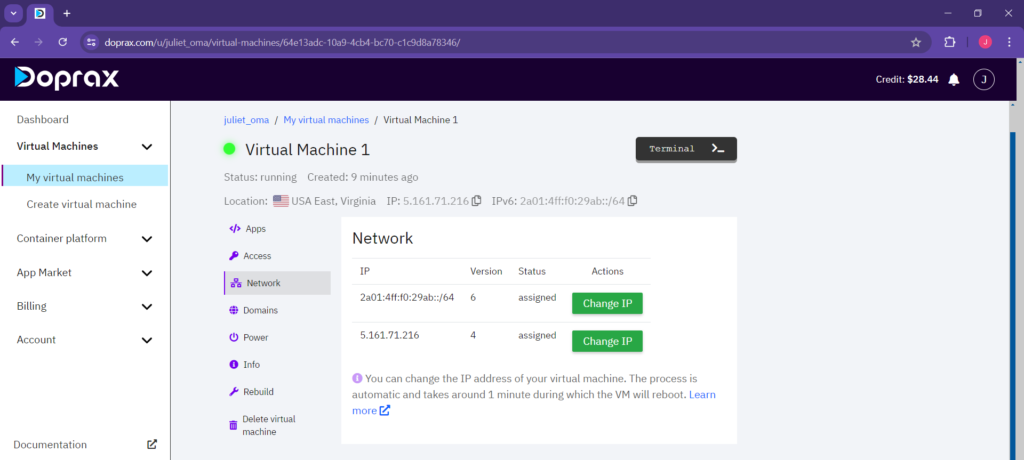
Click the “Change IP” button, a modal will appear prompting you to accept the change. You’ll be charged a fee of $1 to change your IPv4 address. Changing your IPv6 address is free.

After confirming the change, your Virtual Machine will restart to reflect the change. This might take a minute, so wait to it to finish loading.
You’ll then be directed to your Virtual Machine page where you can now see the new IP address. The fee would have been automatically deducted from your credit balance.
Further details about IP address change can be found in the change IP of VM page.